How To Guide - Sewing a Hot Water Bottle Cover
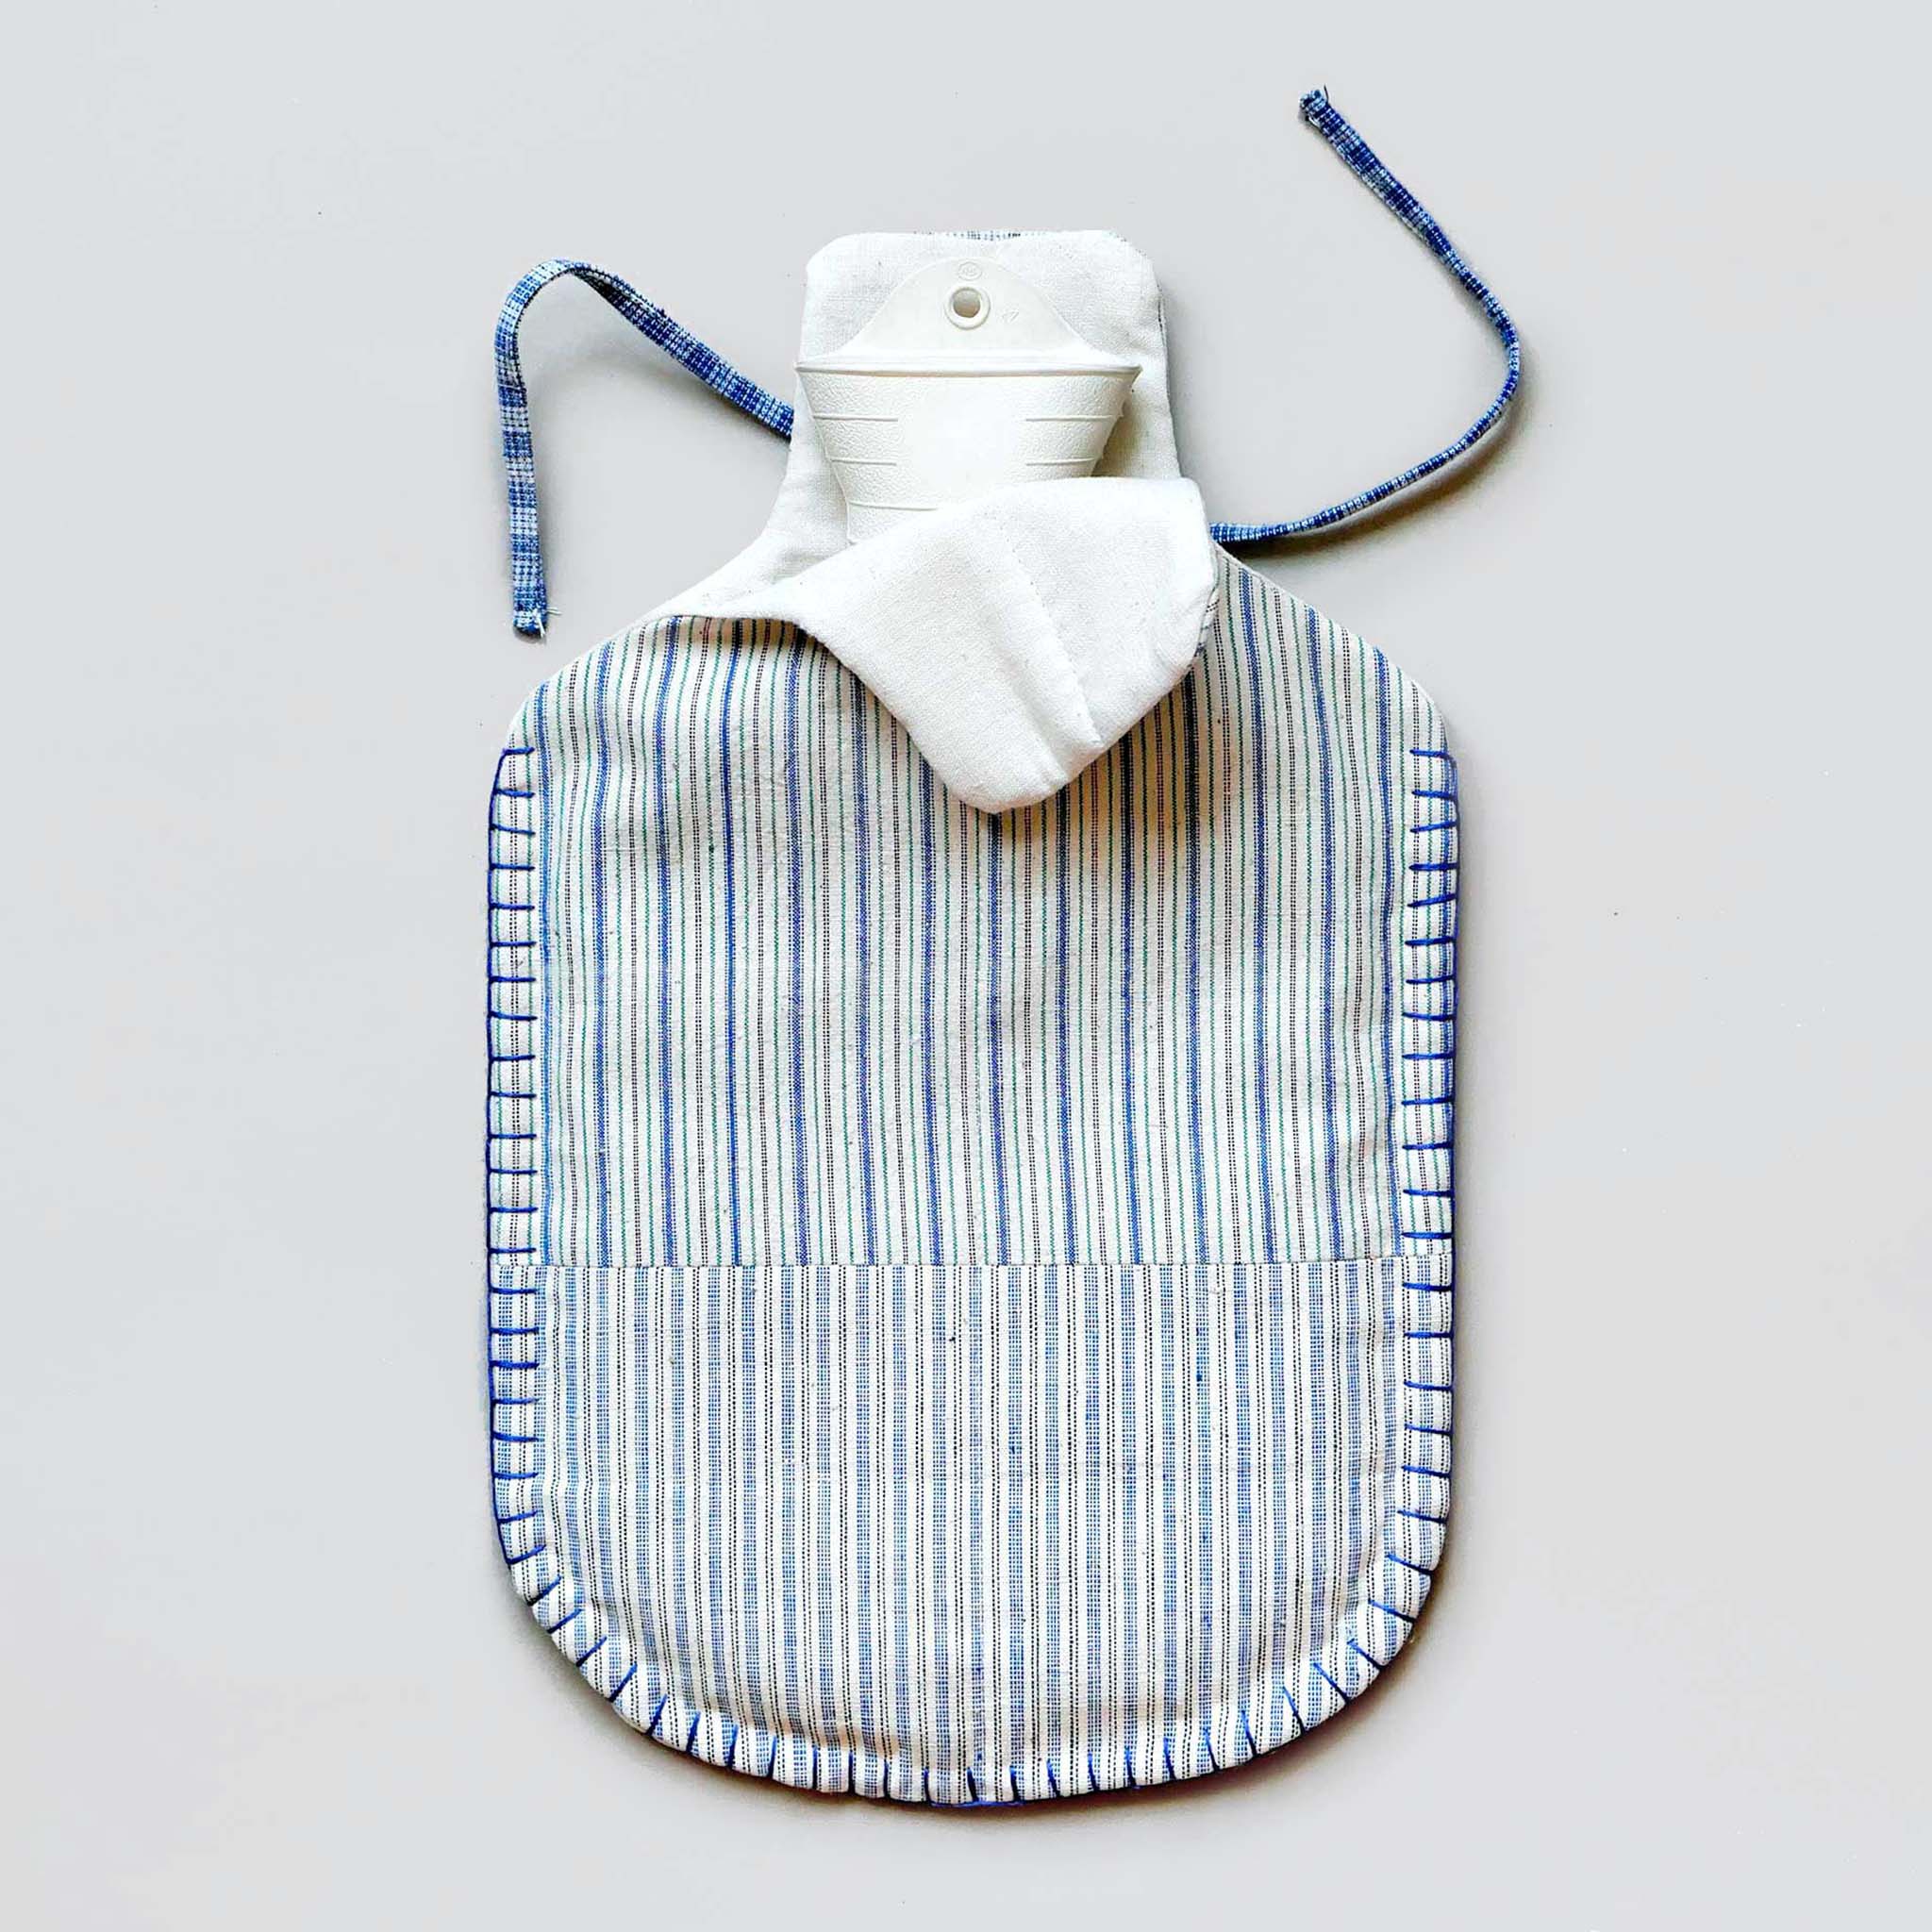
10 November 2023We are often asked about homemade presents and fast Christmas makes, and the hot water bottle cover often comes out a winner as it is perfect for using up smaller pieces of fabric. Most light to medium weight cottons are suitable for this, with prints being especially fun to mix and match. Using wadding with lighter fabric is recommended to disperse any direct heat. If you're using something thick already, like our quilt-like Cotton Jacquard fabric, then wadding isn't as necessary. These covers feature a blanket stitch binding around the edge. A complimentary colour for the blanket stitch creates a nice feature. A tie fastening at the neck holds the case closed, but this can be substituted with a snap fastening.
Equipment Needed
Outer fabric - 2 pieces approx. 30x45cm
Lining fabric - 2 pieces approx. 30x45cm
Wadding (optional) - 2 pieces approx. 30x45cm
Hot water bottle for template
Chalk or pencil
Scissors
Pins for tacking
Thread & sewing machine (or hand sewing needle)
Embroidery thread for binding
Ribbon or webbing for the tie closure
Step 1.
Lay your hot water bottle on your outer fabric and draw around in chalk or pencil leaving a 2.5cm gap on all edges. You can also do this on paper if you prefer, as a template. Ensure the piece is symmetrical and cut out your fabrics and wadding (if using.)

Step 2.
Stack your pieces into 2 piles, with the outer fabric on the bottom of the pile face up, the lining fabric on top of that face down, and then any wadding used on top of that. Pin the 3 layers together on both piles. There is 1cm seam allowance, so measure 1cm from the edge and, starting from the bottom, sew a running stitch around the edge of each pile, leaving a 2inch gap at the bottom so you can turn the pieces inside out. Snip small notches into the seam at the curve of the neck (as pictured.)


Step 3.
Turn each sewn piece inside out and poke out the corners. Iron flat and then carefully close the hole with a whip stitch. Lay the 2 sides of the cover together, so that the lining sides are on the inside and the outer side is facing out and pin these together.

Step 4.
Use a blanket stitch to bind the edges. Start at one shoulder and work down and back up the other side leaving the top open. Our step-by-step guide to blanket stitch is here.

Step 5.
To make the tie closure use a piece of ribbon or cotton webbing approx. 30cm long and sew it on to the neck. Alternatively, you can make a closure using left over fabric, or make a loop out of elastic and use that, or even a press stud sewn into the inside.


These covers were made using our Vintage Cotton Stripes, and our Cotton Jacquard and Block Print Graph Black.Our cotton wadding is available here.
You can print or download our PDF guide to Make Your Own Hot Water Bottle Cover to save this idea for a rainy day.