The studio is now closed. We will ship orders until the 21st of December, and then orders placed over the holidays will be processed when we return on the 5th of January. Merry Christmas and a happy new year.

Guide - How to blanket stitch
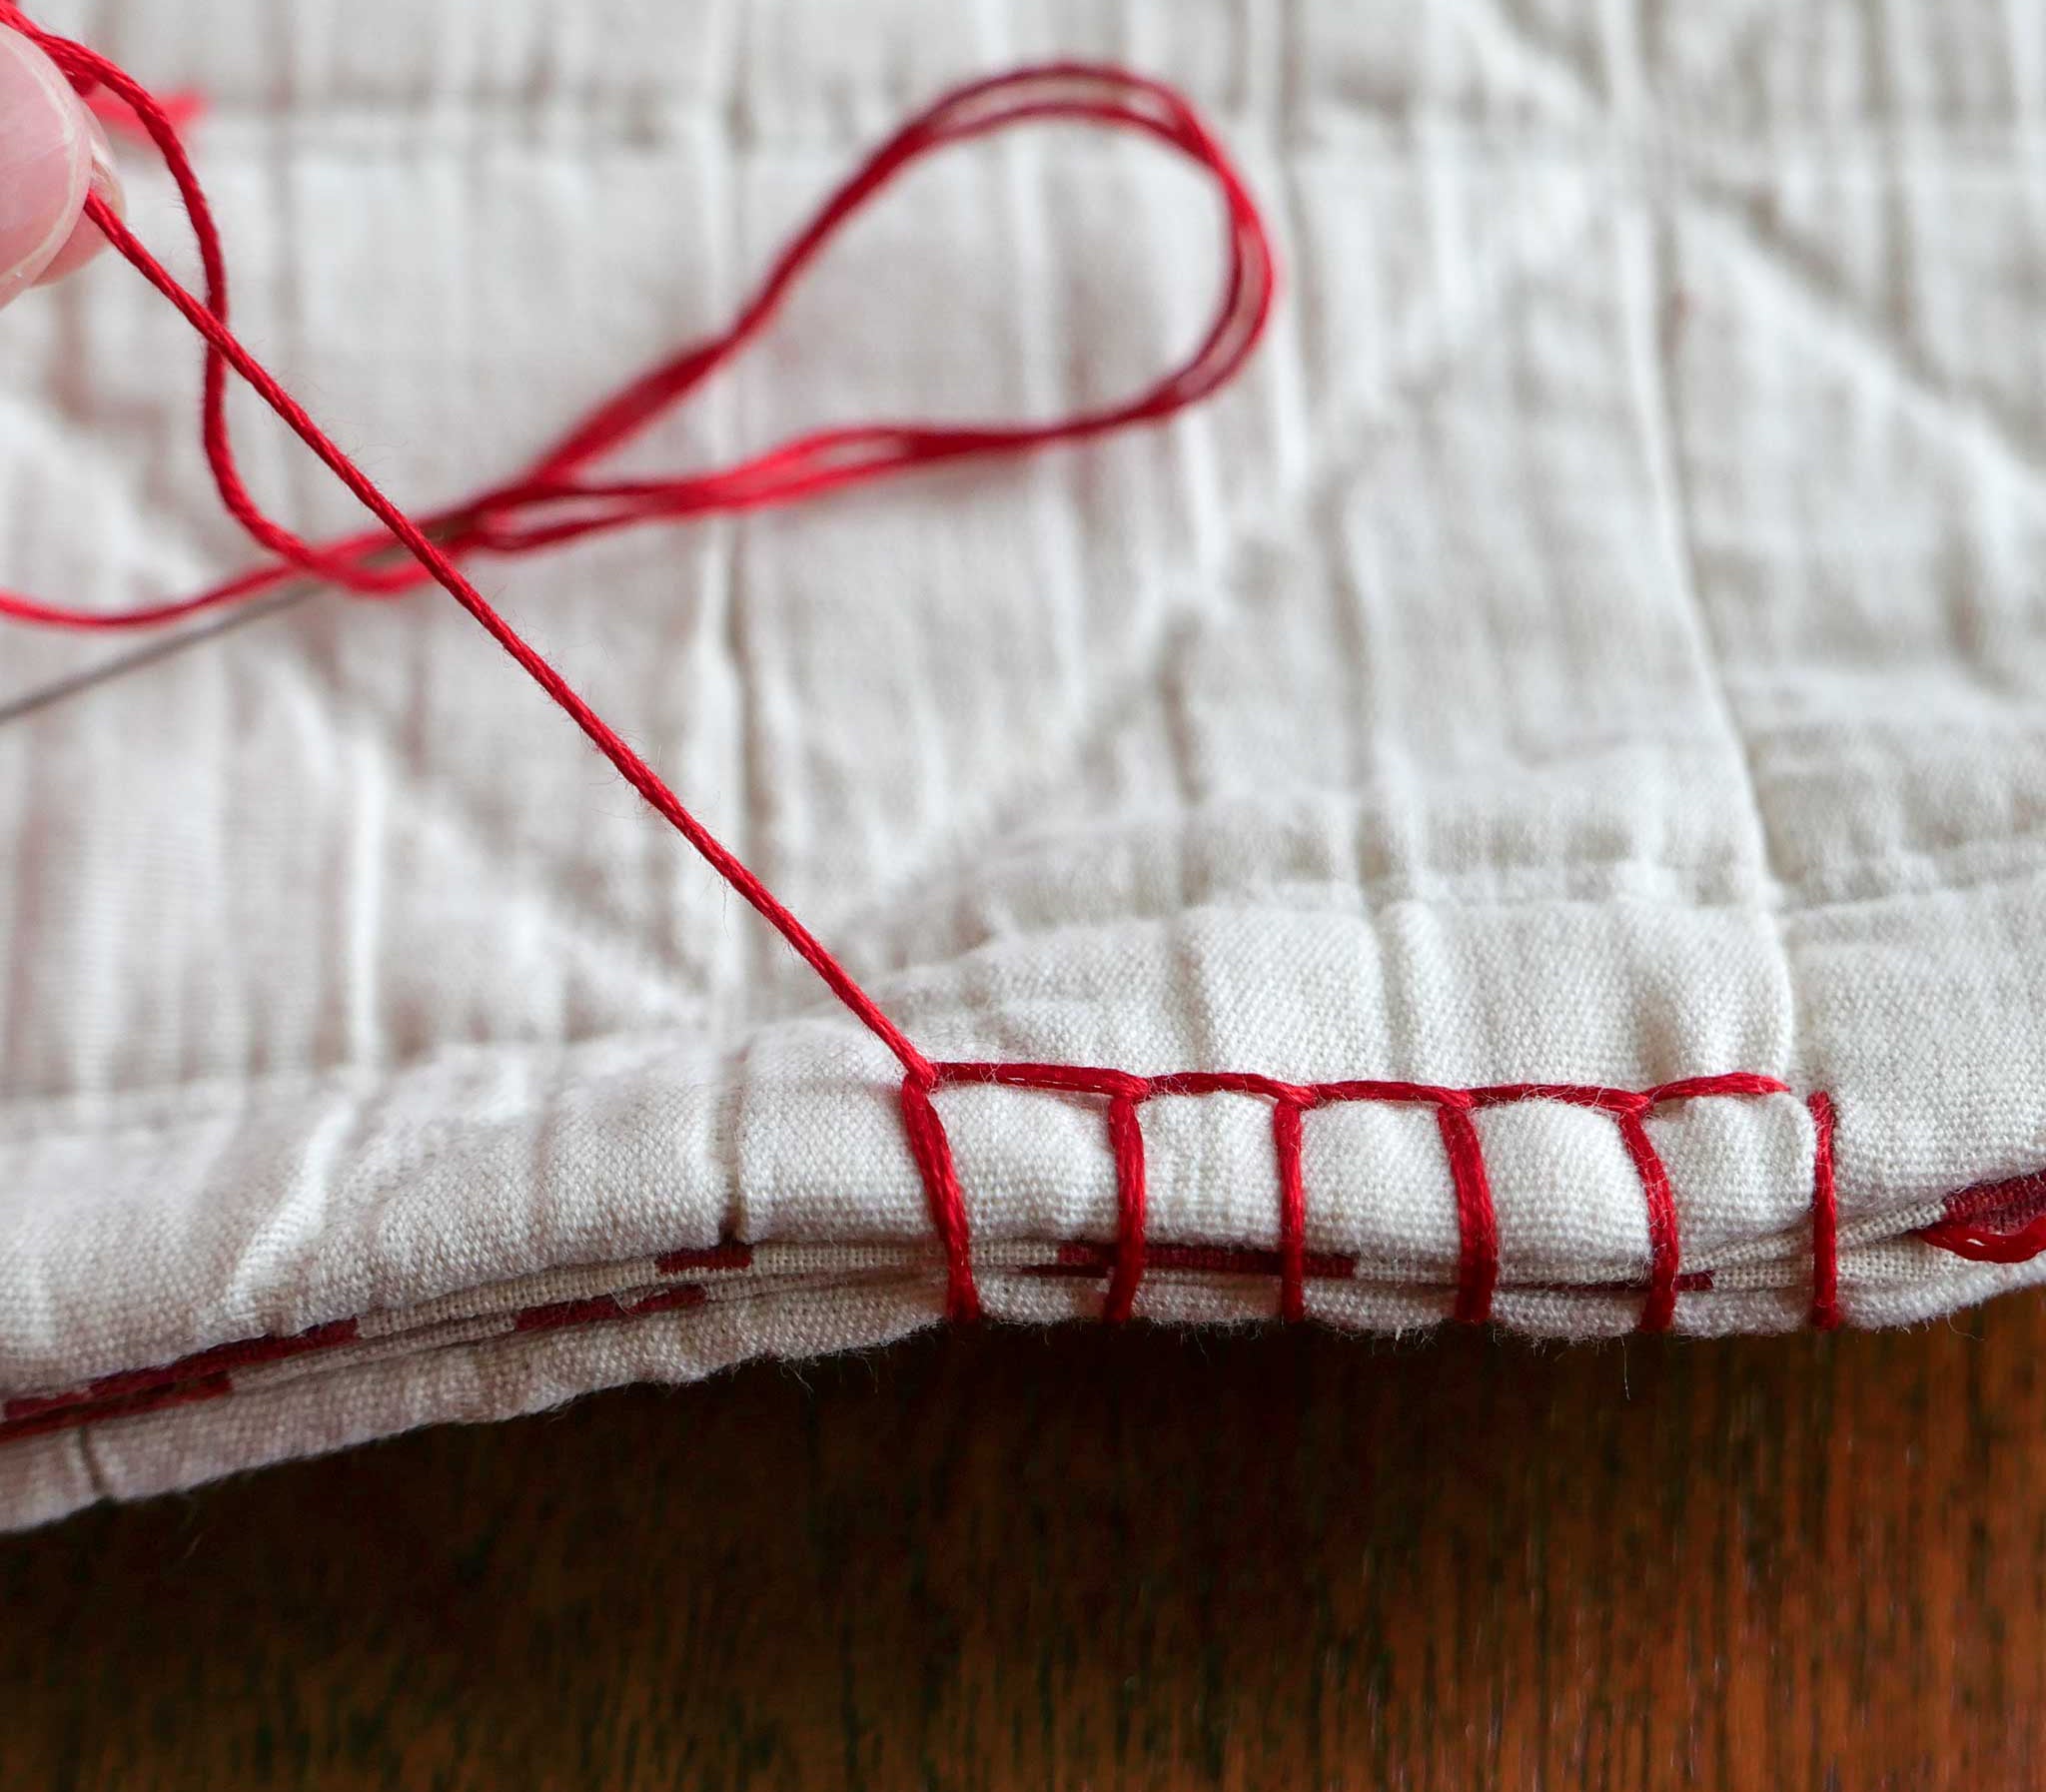
25 October 2023Blanket stitch is a lovely edging, popular for edging single layers of wool for blankets, or for binding 2 layers of fabric together. Whether you're working with one or two layers of fabric, the principles of the stitch remain the same.
Step 1.
Stack your fabrics right-way out. Knot your thread at the end. If you are right handed you may find stitching from right to left easiest. Push your needle upwards through the top layer, pull through so that the knot is concealed between the 2 layers. Bring the needle around and push the needle upwards through both layers, in the spot where the knot is. This is the beginning of stitch 1.

Step 2.
Move along to start the next stitch by pushing the needle upwards through both layers. As you pull the needle through, feed it under the diagonal stitch you've just created, once pulled tight this will create an L shaped stitch, and complete stitch 2.

Step 3.
Repeat step 2, moving along the seam in regular increments to create a lovely edging detail on your project. To finish put your needle back through the last point and secure the last 'L' with a knot.

As well as hot water bottle covers, our blanket stitch is an excellent way to decorate the edging of a simple wool scarf. You may also want to see our guide on How to Stitch a Rolled Hem.
